To set up a React project powered by Vite using npm, follow these step-by-step instructions:
Open Your Terminal or Command Prompt:
Begin by opening your terminal (on macOS or Linux) or Command Prompt/PowerShell (on Windows).
Navigate to Your Desired Directory:
Use the cd command to change your current directory to where you want to create the new project. For example, cd projects will move you to the ‘projects’ directory.
Create the React Vite Project:
Execute the following command to create a new React project using Vite. This command creates a project directory named my-react-vite-app. You can replace my-react-vite-app with your desired project name.
npm create vite@latest my-react-vite-app -- --template reactFor React with TypeScript, use:
npm create vite@latest my-react-vite-app -- --template react-tsNavigate into Your Project Directory:
Change into your newly created project directory with:
cd my-react-vite-appInstall Dependencies:
Inside your project directory, install the necessary dependencies by running:
npm installStart the Development Server:
To start the development server and see your React app in action, use:
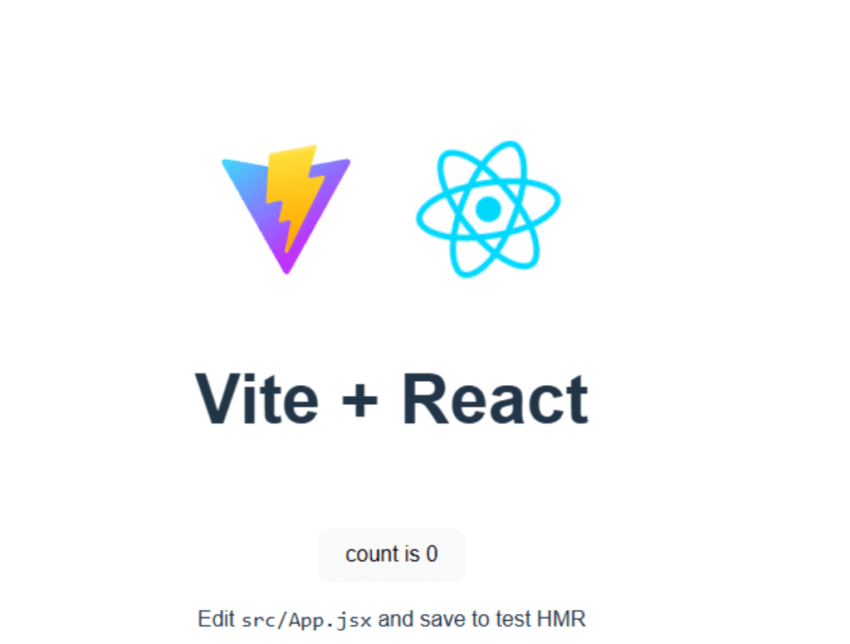
npm run devThis command starts a local development server and opens up a browser window for you. Any changes you make to your project files will automatically reload the browser page.
Build and Optimize for Production:
When you’re ready to build your application for production, you can create an optimized build with:
npm run buildThis command prepares your application for deployment by optimizing and bundling your files for production use.
Congratulations! You have successfully created a new React project using Vite and npm. You can now begin developing your React application with the efficiency and speed that Vite provides.


